Moving your kitchen area in under 24 hr sounds like trying to run a marathon- but with the best technique, it's doable. This guide walks you through practical advice and emotional reassurance so you feel adequate, confident, and happy by the end of the day. You'll discover quick kitchen packing tips, a last-minute moving checklist, and stress-free kitchen relocation hacks. You'll declutter, secure delicate items, and arrange like a pro. Since when has your kitchen crate been sealed and labelled by bedtime? You win.
Introduction: Why 24‑Hour Kitchen Prep Matters
Think about your cooking area as the heart of your home- if it's racing, the whole body feels the beat. A hurried, disorderly cooking area relocation stresses your back, meals, and patience. However, when you approach it with a strategy, even on a tight timeline, the procedure ends up being something you own, not something that owns you.
Step 1: Quick Assessment & Decluttering
Start with a "what-can-go" box. Unused spice blends, chipped mugs, expired food- let go. If it stimulates regret, ask yourself: Will it trigger happiness in your brand-new place? If not, donate or toss it. Decluttering resembles pre-moving treatment- lightening your load physically and psychologically.
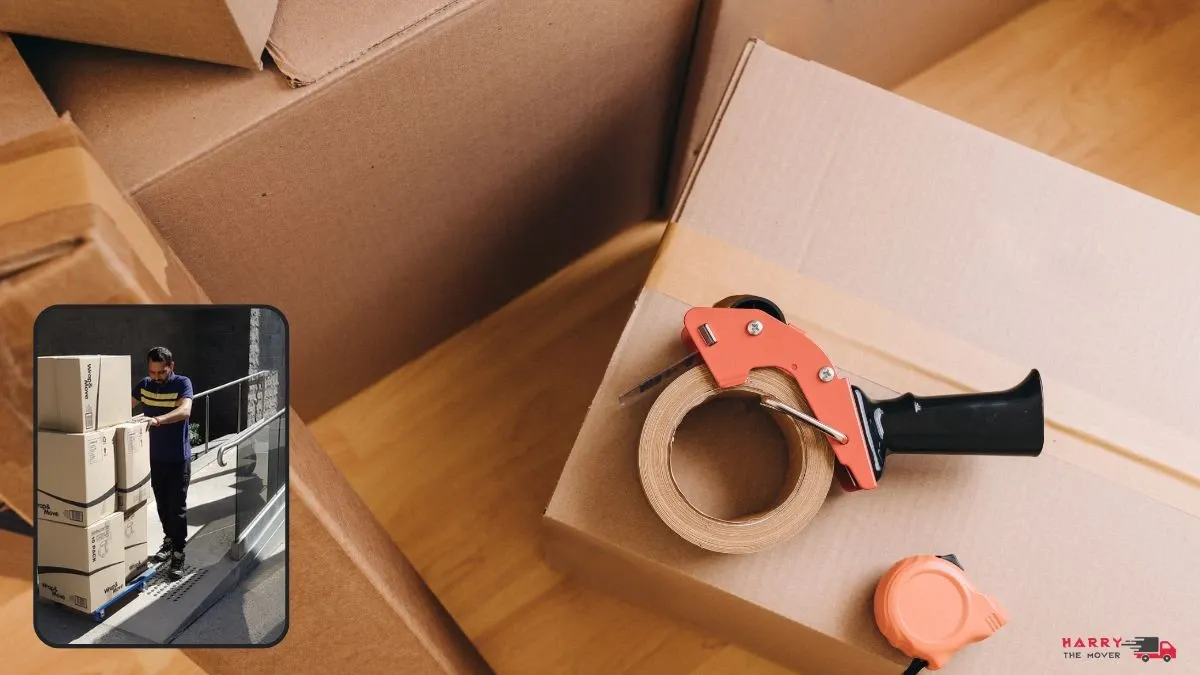
Step 2: Gather Essential Packing Supplies
A famous relocation requires legendary gear. Get small and medium boxes, bubble wrap or clean towels, dish-specific boxes, loading tape, and labels. Think about these like your superhero outfit- they don't do the work; however, whatever feels much easier when you've got them on.

Step 3: Organize Items by Category
Group your pots and pans, dishes, utensils, and pantry products. Keep breakfast basics, your coffee maker, and a couple of plates in the "open very first" box. That way, you make it through the first night in your new kitchen area without scavenging through disordered crates.
Step 4: Fastest Way to Pack Dishes & Fragile Items
Nesting works marvels- bowls into bowls, cups into cups. Pack plates vertically, like records in a dog crate, so gravity doesn't crush the bottom ones. Then, cover each stack in bubble wrap or towels. It resembles tucking your meals into relaxing beds for the night.
Step 5: Secure Fragile Items for Moving
Vulnerable stickers are your friend- utilize them abundantly. Fill any gaps in boxes with towels or bubble wrap so items do not slide. When doors swing or wheels bounce, whatever stays snug and snugger.
Step 6: Efficient Kitchen Organization While Packing
Establish a packing station- countertop area with products ready. As you go, toss items together. You become a kitchen DJ, mixing ingredients, gadgets, and meals in harmony. Keep a tote for orphan products that don't fit your organization but require moving.
Step 7: Last‑Minute Moving Checklist
Finish with fundamentals: soap, sponge, a roll of paper towels, and trash bags. Tidy counters and sweep the floor- in the future, you will thank you for showing up to a neat, non-messy place. Security initially: disconnect home appliances, shut off gas, and secure loose deals.
Step 8: Time‑Saving Moving Strategies & Hacks
Towels = triple-duty: packing cushion, box filler, and your clean-up cloth later on. Leave one "survival box" for your opening night- like a convenience package. Coordinate early: call your removal team, organize utility cut-off and reconnection, and prevent last-minute "oops" minutes.
Common Kitchen Packing Pitfalls & Solutions
- Over‑packed boxes become Russian nesting doll problems- keep them liftable under 20kg.
- Missing out on covers and small parts? Use zip bags taped to the product or box.
- Pan deals with poking out? Get rid of deals with or wrap them in towels- nobody wants a deal with poking into the neighbour's box.

Frequently asked questions
Q1: How many meals can I pack in one box?
Typically, 8- 12 plates are stacked from largest to smallest and cushioned well. Think about it like a layered, warm, and protected plate quilt.
Q2: What's the best padding material?
Bubble wrap is perfect, but tidy towels work beautifully and smell better. Paper, not so much (ink takes place!).
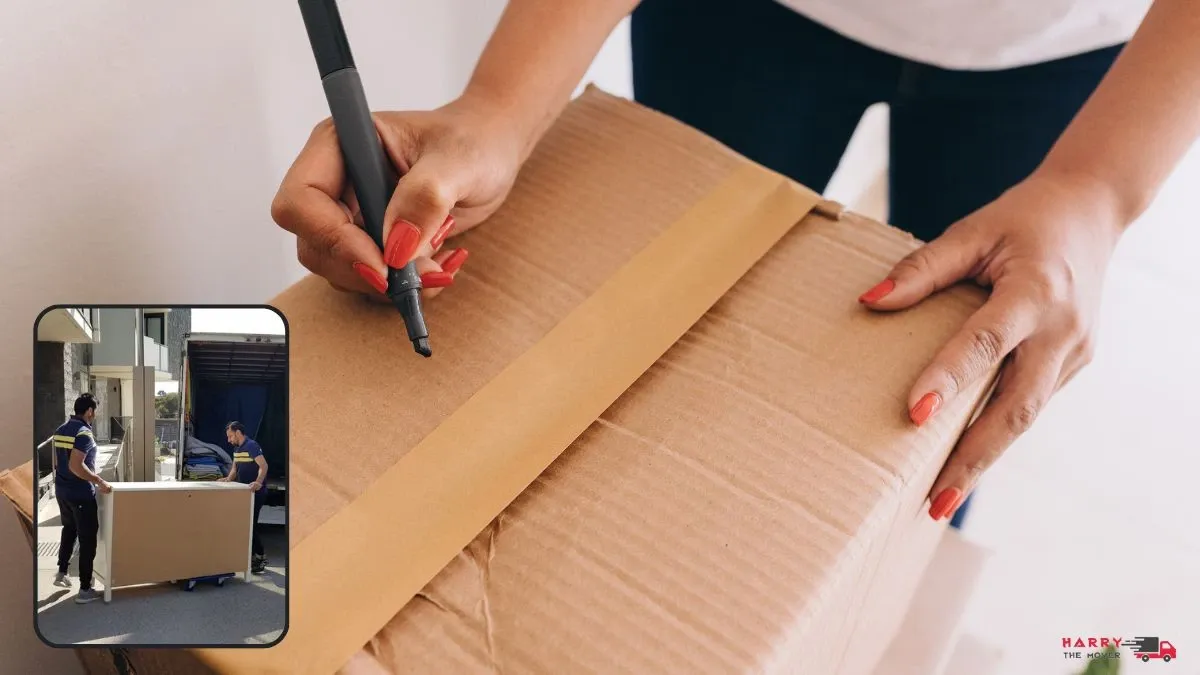
Q3: How do you identify kitchen area boxes so unloading is simpler?
Write "Kitchen Area- Glassware Fragile" with arrows and "Open First." You'll conserve yourself during the midnight scavenger hunt.
Q4: Can I utilize towels instead of bubble wrap?
Absolutely- towels make excellent comfortable cushioning. Be sure they're clean!
Q5: What packaging techniques do house eliminations in Adelaide use?
They typically bring meal barrels and pre-wrap boxes. They'd tell you to declutter early, pad everything well, and get your devices disconnected beforehand.
Q6: How can I ensure a stress-free kitchen relocation under time pressure?
Tag-team: employ pals or family. Call regional movers. Keep your "survival box" useful for dinner prep on the first night. With assistance, the move feels less like solo mountain climbing and more like an enjoyable excursion.
Conclusion
You've now got the roadmap to tackle your kitchen move-in under 24 hours- and come out the sensation empowered, not exhausted. You'll pack meals like a pro, breeze through your last-minute list, and even share a laugh when you discover that "oops" tangle of cords.
Download our 24-hour cooking area packing checklist and chat with reputable house removals in Adelaide to make this your smoothest move yet. You got this!